My Momma’s Mango Jam

20130524-230955.jpg

My mother’s birthday is quickly approaching. As the only recipient of her slightly-less-than-subtle hints about her love of mango jam and how she hasn’t tasted it since her childhood in Jamaica, I decided that there’s no time like the present to supplement my canning repertoire! Up until this moment, I’ve tried my hand at canning exactly once before (strawberry jam made two ways and it is tasty!), so I hoped that things would go off without a hitch once again.

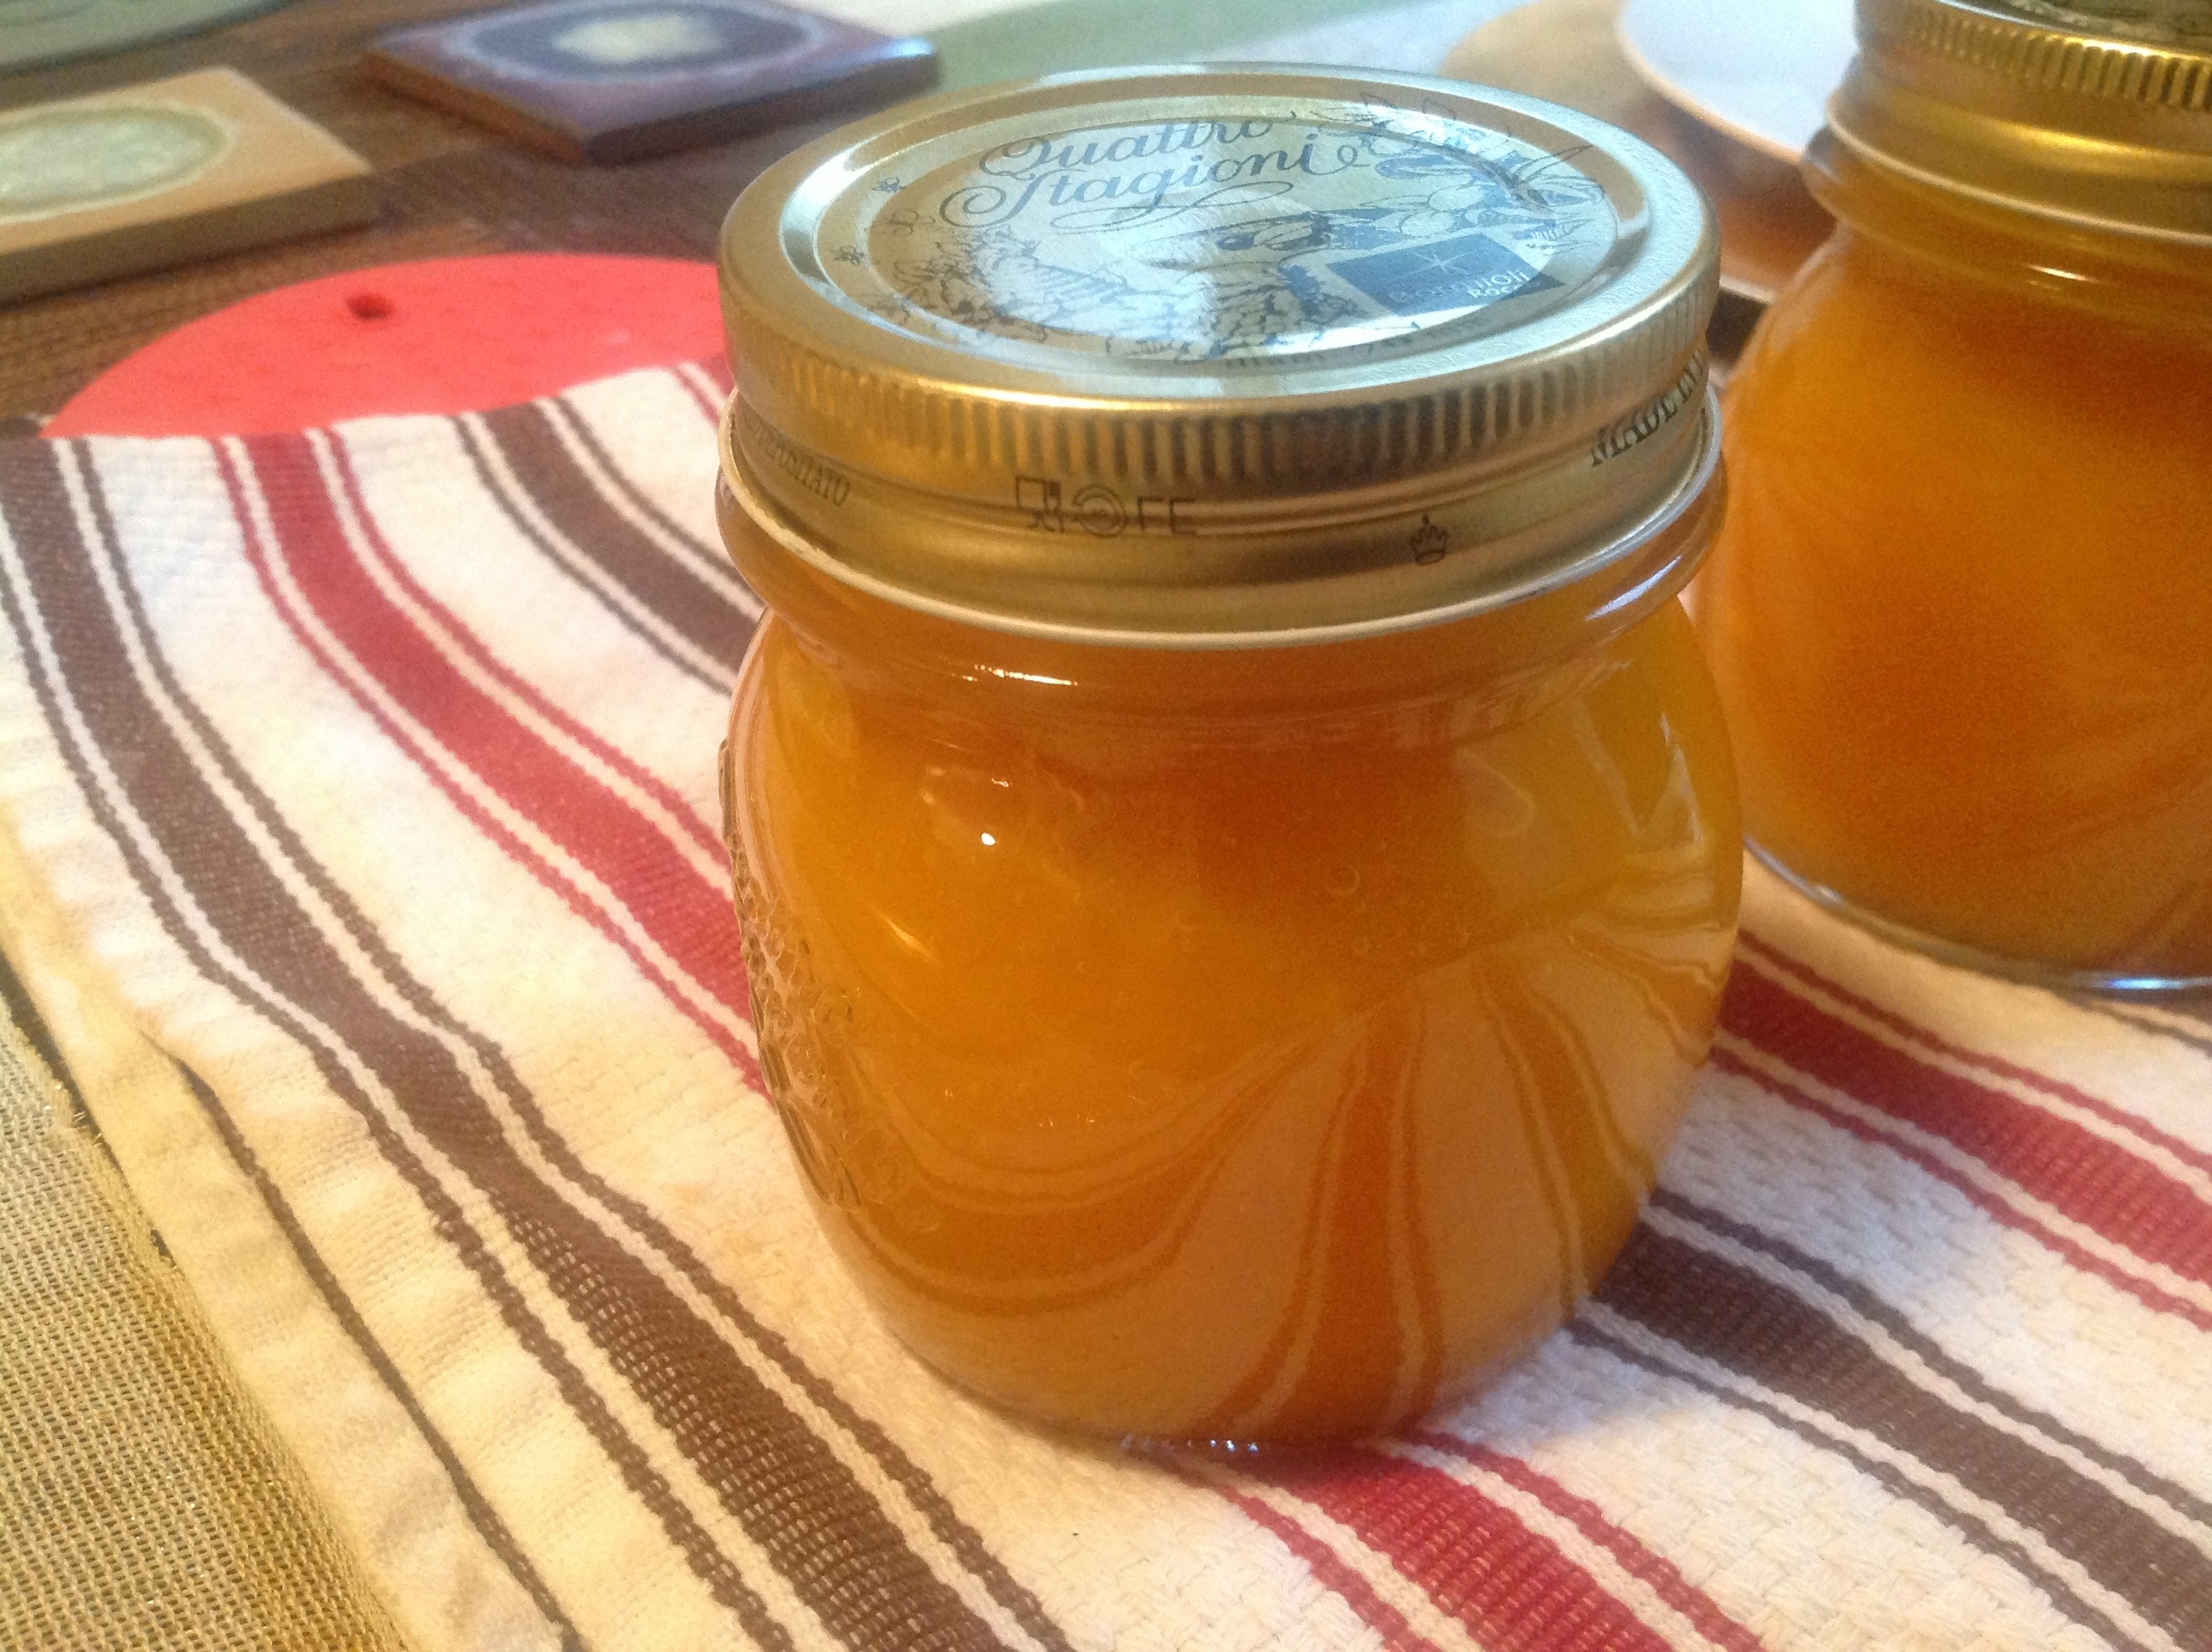
Let’s just say that it could have gone a bit better. The preparation and jam itself all came together quickly and easily as expected. But in canning … sometimes the lid does not POP the way it should. Either way, the jam is darn tasty. Luckily one of the two canned lids processed perfectly, so my momma will be able to store it for quite some time. The other jar will need to be kept in the refrigerator, so she can eat that as soon as she wishes.

20130524-224042.jpg

To can the jam, prepare the canning jars and fresh lids by washing them and letting them sit in simmering water. It’s better to put hot jam in hot jars.

Here’s the recipe:

Ingredients :
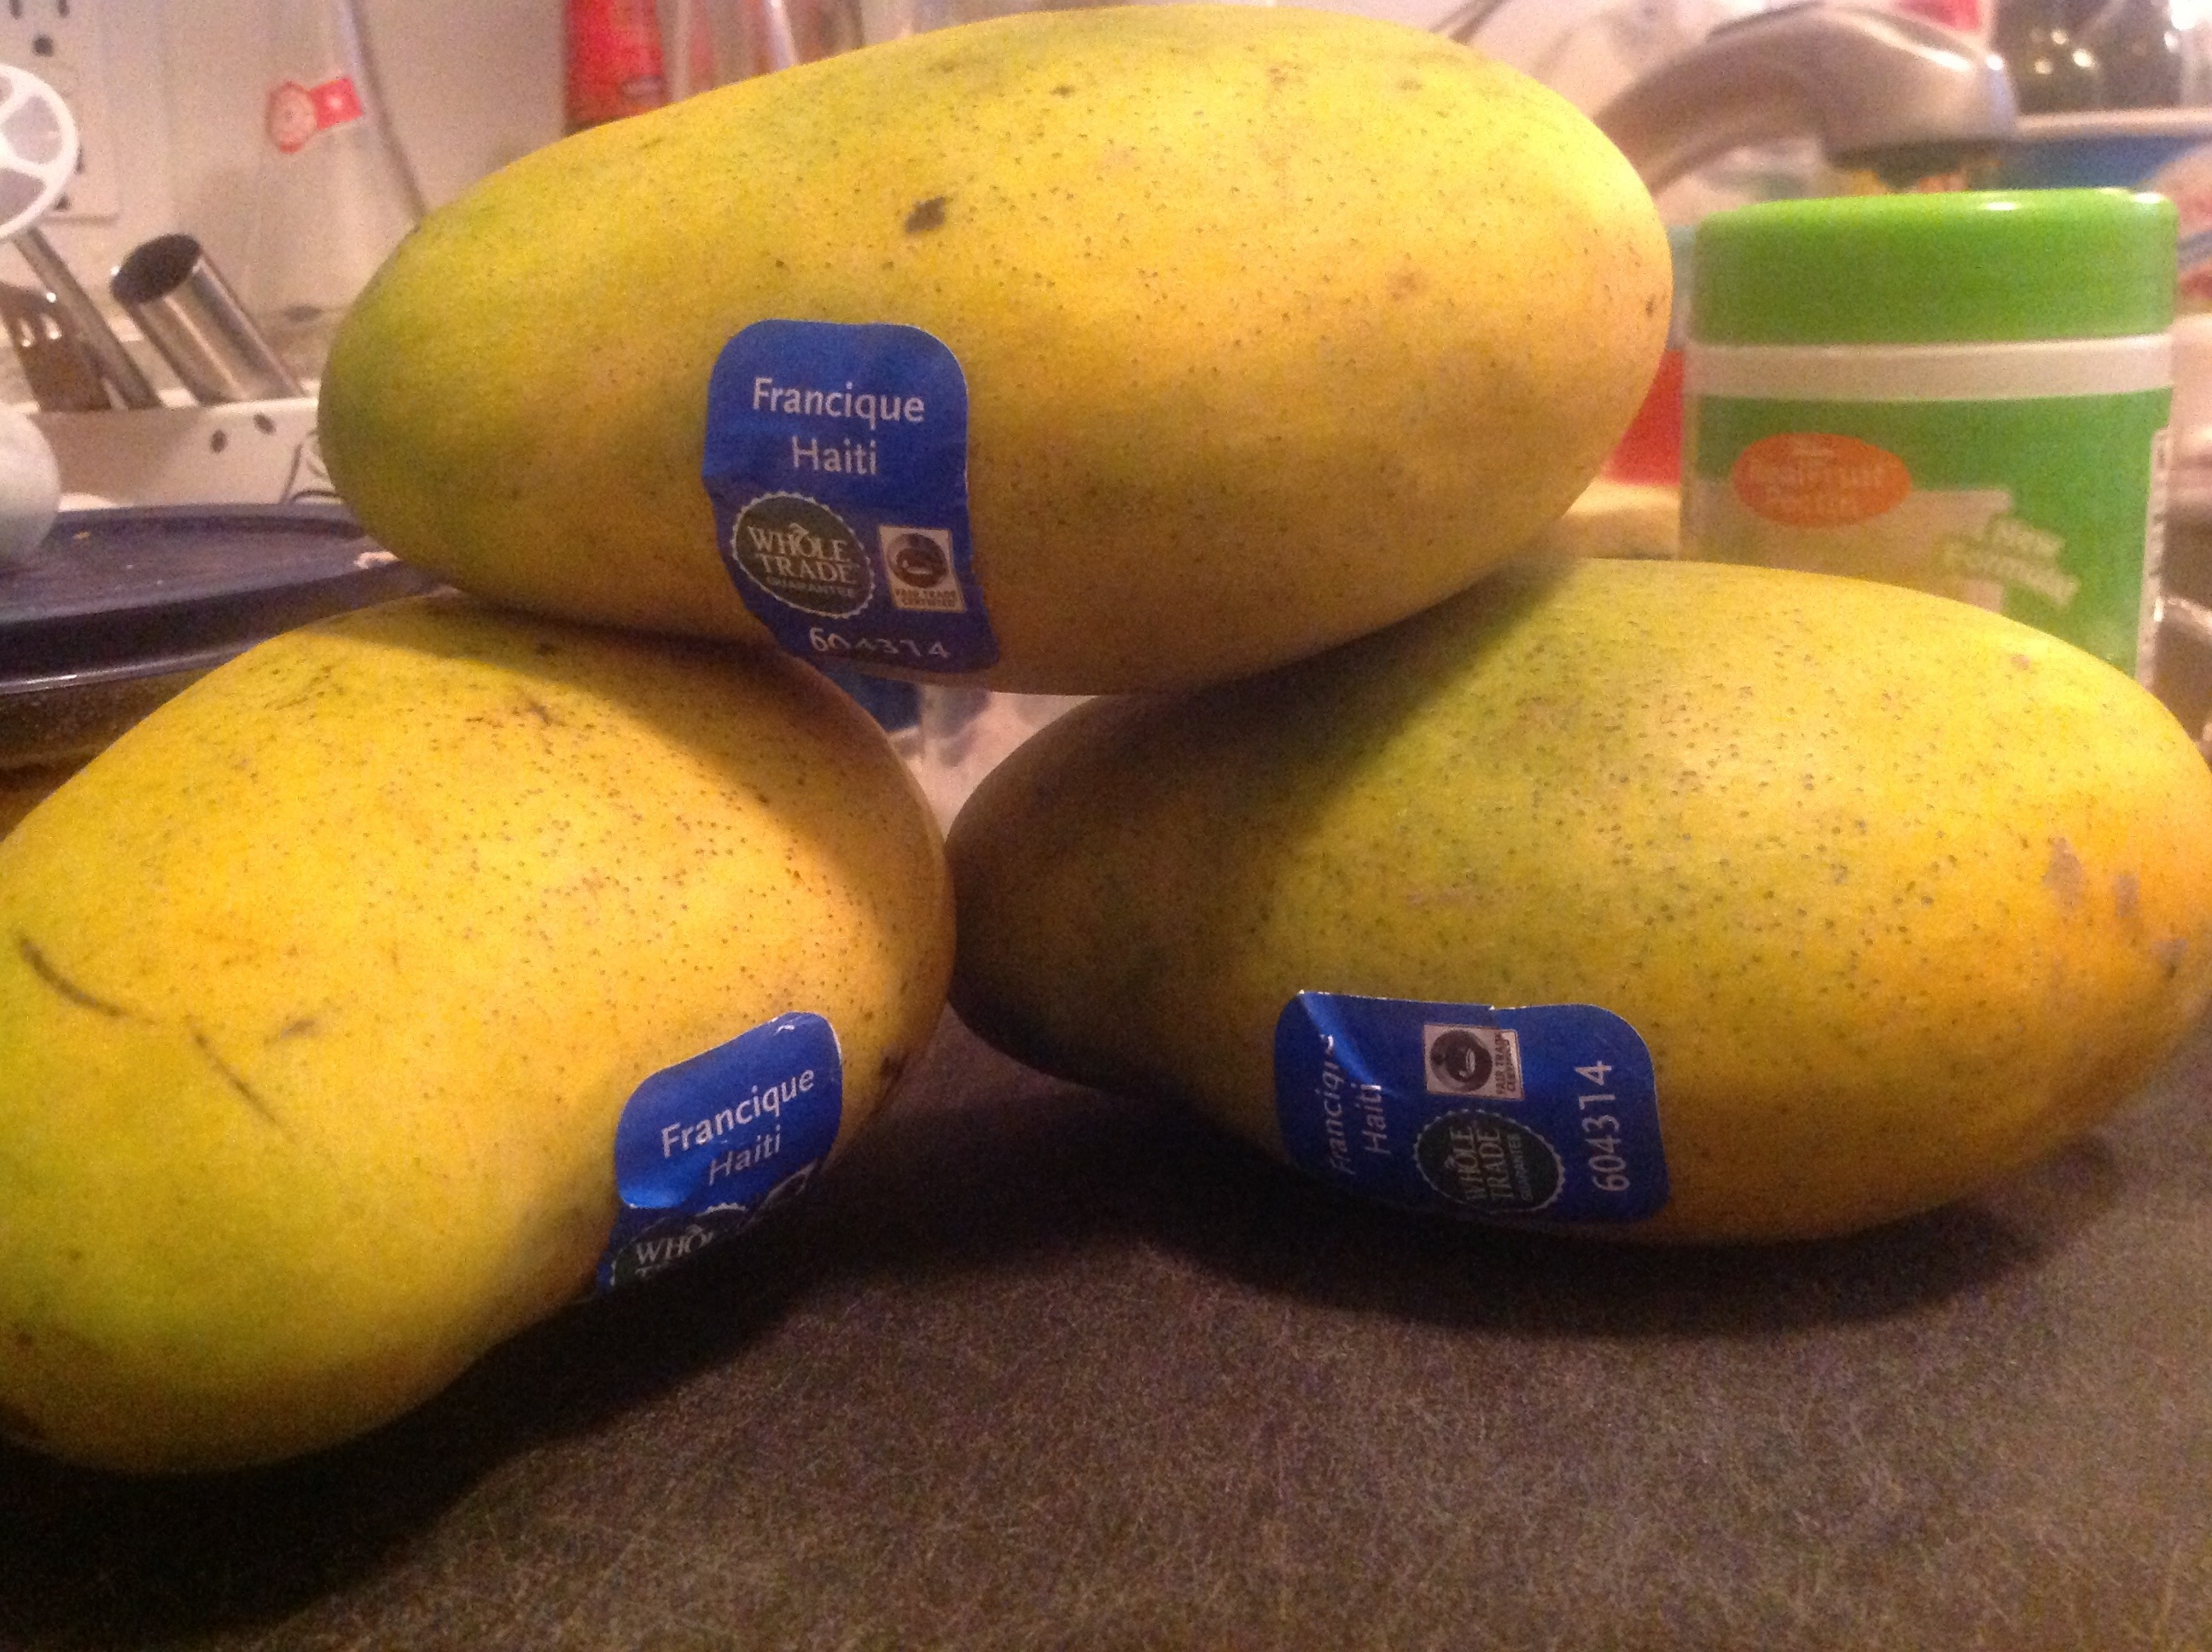
500 gm. peeled & chopped mangoes
188 gm. sugar
2 tbsp. lemon juice
1 tbsp. Balls low-sugar pectin
1/4 pat of butter

Preparing Jam:
1. Place chopped mangos and lemon juice in a pot and stir to combine. Stir in pectin until dissolved. Bring mango mixture to a strong boil.
2. Add the pat of butter to the mixture and stir it in. This helps reduce the amount of foam that will need to be skimmed off later on in the process.
3. Add sugar all at once to the pot. Return mixture to a full boil that can’t be stirred down. Boil hard for 1 minute 30 seconds.
4. Check the viscosity of the mixture. If it is not to your liking, boil and stir for at most an additional 1 minute 30 seconds. Remember that as the mixture cools, it will thicken up especially with the additional pectin added to the mixture.
5. Skim foam off the top.
6. Remove one jar at a time from the simmering water. Pour water back into the pot. Be careful! Using a wide-mouth funnel, fill each jar with jam. Fill jars so that they have 1/4-inch of space at the top.
7. Run a knife down the side of the jar – this helps get rid of air bubbles.
8. Wipe rim of jar with a dampened cloth or paper towel to remove any excess jam.
9. Remove center lid from simmering water and place it on top.
10. Lightly/loosely screw bands on jars. The full tightening of the bands will happen later.
11. Repeat with all jars, then gently and carefully lower the jars back into the water.
12. Place lid on the pot and bring water to a full boil. Boil hard for 10 minutes.
13. Turn off heat and allow jars to remain in hot water for an additional five minutes.
14. Remove jars from water using a jar lifter, and allow them to sit undisturbed for 24 hours.
15. After 24 hours, remove screw bands and check the seal of the jars. If the center lids have any give, or if they haven’t POPPED, then they will need to be stored in the fridge.
16. Eat whenever you crave a taste of mango goodness. Yum!

20130524-230727.jpg

My shoulders were bouncing … and I kept on letting them: a NYC NotWedding Event

In case you haven’t yet noticed, I’m a New Yorker through and through. I was born in Brooklyn, I went to college and university in Upstate New York and now I’m back home: living in Manhattan. I’ll be honest, I miss driving my car daily. These days, she just sits in a garage. However, it is evenings like this past Wednesday that serve as a tangible reminder as to what I love about this city; what keeps bringing me back; and why, no matter how long or how far I move or spend time away from here, it will always be my home. (Hint: I’m hoping that I can convince a certain someone that we should move somewhere outside of the immediate city so that we can purchase a home … a pied-a-terre for purposes of dual residency will hopefully follow!)

On Monday, I was fortunate to win tickets to attend NYC’s first NotWedding event ever! For those of you who have never heard of such a event, here is a direct quote from the website. “The Not Wedding is a bridal show alternative in the form of a big, fake wedding.”Wedding guests” are brides-to-be who enjoy an emotional ceremony, A tasty dinner and a dance-party reception while truly experiencing the wedding vendors in action.”


This was a fun reprieve from my usual Wednesday night *festivities*. The informal dress code was cocktail-casual, the people there were young and fun, the music made me want to tear up the dance floor and best of all, it was completely free for me and my guest!

Free food that was tasty, comforting and offered variety?

Image

Clockwise from top left:
pancetta & leek tartlets
pesto panko chicken with sun dried tomato aioli
fontina, wild mushroom and caramelized onion brioche bites
red wine braised short rib skewers with polenta cakes

Check!

Complimentary sparkling wine sponsored by Ferrari and fabulous decor?

Image

I just love that centerpiece! I bet that could easily be a DIY project for a more cost-effective price point.

Double check! Look at those green charger plates. Talk about a great pop of color!

A versatile cover band and an equally awesome DJ that kept everyone’s shoulders shimmying?! A photo booth (Having never experienced a photo booth, I am officially a fan.) and a swag bag???

Image

Ferrari swag bag

Yes, yes, and yes again! Thank you, NotWedding events – I had a lovely time!

On another note: for all you local and destination betrothed readers … it is such a great feeling to be able to support one’s local community. These vendors are often able and willing to work with pretty much any budget out there. So, if you’re so inclined – help these vendors out, y’all!

Recipe: Fruit and Yogurt Muffins

As I promised, here’s the recipe for my fruit and yogurt muffins. I call them this because of my picky family. Some of us prefer blueberries, some of us prefer strawberries and there are others of us who are stuck with bananas when the strawberries grow moldy. Then there are the select few that get stuck with blueberry + banana yogurt muffins when there aren’t any other options. So, in an effort to be concise, these are simply fruit and yogurt muffins.

I must admit that I did not create this recipe: it came from Savory Sweet Life in the form of blackberry yogurt muffins. However, we do not like blackberries in this household, so blueberries and strawberries bananas it is!

20130521-230122.jpg
Do you see those deceptive strawberries??? For shame!

Here’s Savory Sweet Life’s recipe, with my minor modifications.

Blackberry Fruit and Yogurt Muffins
Author: Savory Sweet Life, as adapted by Curly hair Caribbean flair
Recipe type: Bread
Prep time: 10 mins Cook time: 25 mins Total time: 35 mins
Serves: 12 16

Ingredients
8 tablespoons (1 stick) unsalted butter, at room temperature
½ cup sugar
½ cup dark brown sugar, packed
2 eggs
1 cup 2% honey Greek yogurt
¼ cup skim milk
1 teaspoon pure almond extract
1 cup all-purpose flour
½ cup whole wheat flour
2 teaspoons baking powder
½ teaspoon baking soda
½ teaspoon kosher salt
1½ cups fresh blueberries, or 3/4 cup of two different fruits that are similar in size

Instructions
Preheat the oven to 400 degrees F.
Using a hand/stand mixer, cream the butter and sugars on medium speed for 3 minutes until light and fluffy.
Add the eggs one at a time, waiting for each egg to be mixed in before adding another. Add the yogurt, milk, and almond extract. Mix until the yogurt is combined.
Reduce the mixer speed to low and add the flours, baking powder, baking soda, and salt. Mix the batter until smooth and there are no lumps, about 2 minutes.
Gently fold in the blueberries/strawberries/diced banana/what have you.
Spray a generous amount of non-stick spray into a crumbled paper towel and grease the top of a muffin tin (I’m lazy and I never do this step. I’ve never had a messy post-baking cleanup yet.) Line the tin with 12 paper baking cups. (See my notes below: you may need two muffin tins.) Fill each tin ⅔ full.
Bake muffins for 12 minutes at 400 degrees. Reduce the oven temperature to 350 degrees and bake for 13 more minutes or until the center of the muffins springs back when touched.
Allow the muffins to cook in the tin for 3-5 minutes before removing.

A few notes:
I only have skim milk in my house, so that’s what I used. It worked just fine. My muffins are incredibly moist, and are consistently so each time that I make them.

Likewise, I could only find Fage’s individual 2% yogurt cups with the honey mix-in. It worked great! I personally love the rich thickness that Greek yogurt has, so that’s what I use. On occasion, I’ve used my normal Fage 0% yogurt, and mixed in a few tablespoons of whatever honey I’ve happened to have on hand. This is extremely successful! When in doubt, just fudge it out! (My new motto, haha.)

My partner loves blueberries, so I always make half a batch of muffins with blueberries. Normally, I reward myself for being so thoughtful by making the other half of the batch of muffins with strawberries that I’ve dehulled, and quartered. No such reward this time, however, because I waited too long to use said strawberries. Mold is not fun. So, I frantically looked around my kitchen, and saw … a banana. I know, I was dubious about the results, especially because I do not like banana bread. :0 I sliced the banana in half and each half in half, then diced those halves into slightly larger than one inch pieces. I mixed it in to my half of the muffins, baked them all and … What do you know?! Those banana yogurt muffins were darn tasty! The banana pieces were the appropriate amount of warm, malleable and not overly banana-y. Absolutely delish!

20130521-232654.jpg
Lovely muffin batter, just waiting to be baked.

Last note: for some reason, whenever I make these muffins, I always end up with 16 muffins, instead of 12. I’m not complaining – I just thought you should know.

So, take a crack at this recipe! Toss whatever fruit or berry you like into this batter, it’s pretty forgiving. Your taste buds will thank you for it!

Fruit and Yogurt Muffins

20130521-181308.jpg

I’m pretty much running on empty right now. Not a good way to start this blog, but what can I do? It’s just been one of those days, I guess! Luckily I’d baked these beauties just yesterday in anticipation of a day like today. Yum! I’m going to eat one right now … I promise to share the recipe later.